

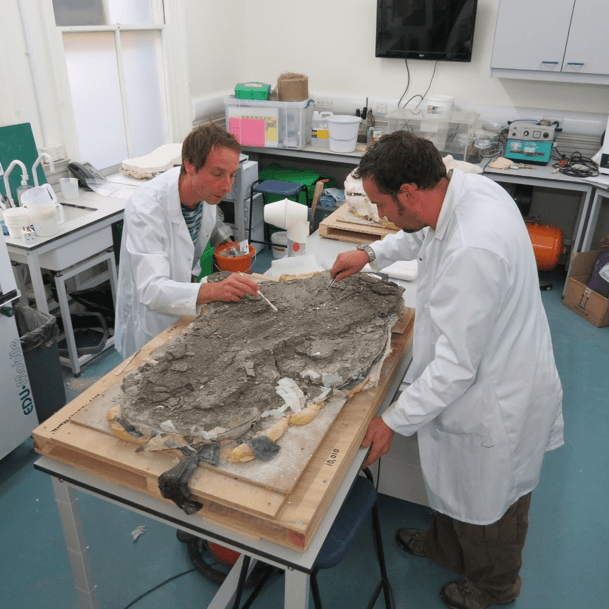
Geologists at work
Excavating the fossil bones from the quarry is just the start of the fossil preparation process! After the specimens are brought back to the lab there is much more to do.
To find out how the palaeontologists excavated the bones on site see About the Dig.
-

- Lifting the protective plaster jacket, to reveal the bones in the rock block.

-

- Photo courtesy of Nigel Larkin
-

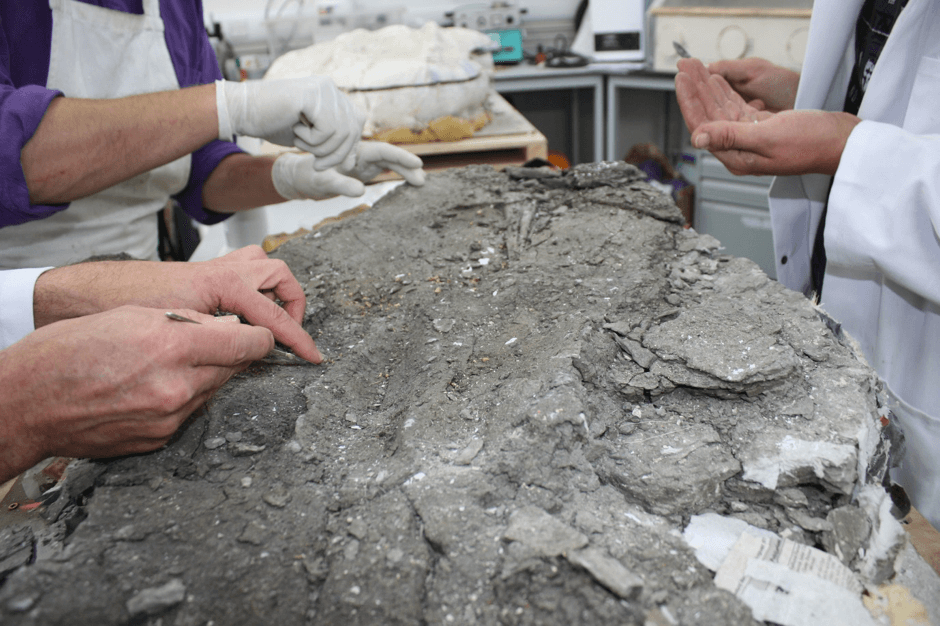
- Using dental tools and brushes to remove loose rock.
-
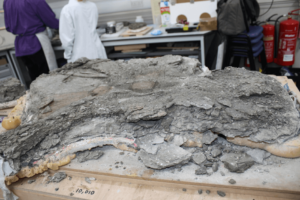
- Fragile sides of the block need to be stabilised using conservation glue and plaster to support the bone.

-

- Preparing the plaster to create a support.

-

- Plaster is also used to create a base for the matrix blocks to rest on when the field jackets are cut away. This block is being prepared to be turned over.(photo courtesy of Nigel Larkin)

-

- Section of the side after plaster support is in place.

-
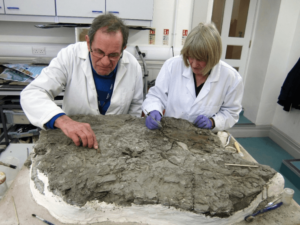
- Carefully removing the matrix rock from around the bones, using wooden splints and acetone (a type of solvent)

-

- Close up of part of the bone after being prepared and coated with diluted conservation glue to strengthen and protect it.

-

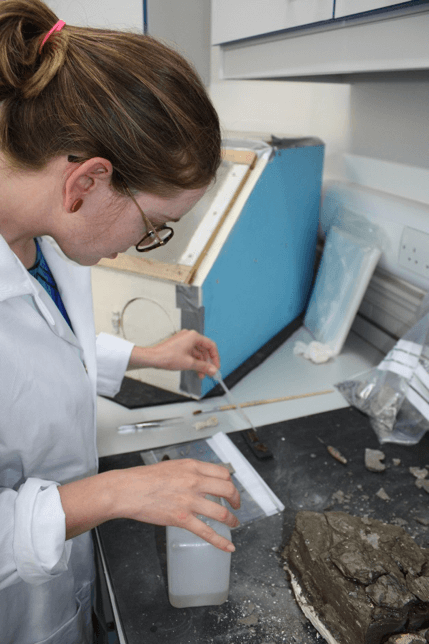
- Cracks in the rock need to be stabilised using a conservation grade glue. In this case Paraloid B72

-

- Cracks in the rock need to be stabilised using a conservation grade glue. In this case Paraloid B72
-

- After the bone is prepared and conserved it is mounted ready for storage, being careful to label its unique fossil bone number and its orientation of where it was found.
